Selection Statement
Allows the execution of one or group of statements on particular condition.
Selection statements use a condition to select or determine the statements that are to be executed.
Selection Statements are of three types


Allows the execution of one or group of statements on particular condition.
Selection statements use a condition to select or determine the statements that are to be executed.
Selection Statements are of three types
- if
- if..else
- switch
if Statement
It is used when we need to execute a group of one or more statements only when a particular condition is met.
Example
<!DOCTYPE html>
<html>
<head>
<title>javaScript if Statement</title>
</head>
<body>
<h1>JavaScript if Statement</h1>
<script>
var number1 = 4;
var number2 = 8;
if ((number2 / number1 == 2))
{
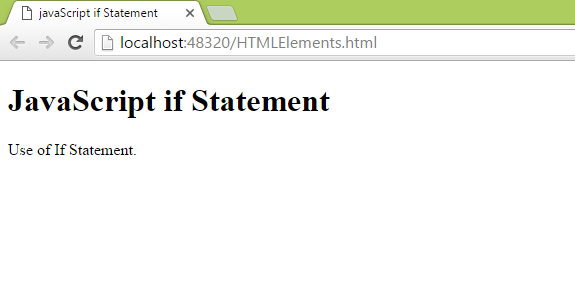
document.write("Use of If Statement.<br />");
}
</script>
</body>
</html>
if...else Statement
If we want to execute another set of statements when condition is not true than we can use if...else statement.
Example 1
<!DOCTYPE html>
<html>
<head>
<title>javaScript if Statement</title>
</head>
<body>
<h1>JavaScript if Statement</h1>
<script>
var number1 = 4;
var number2 = 8;
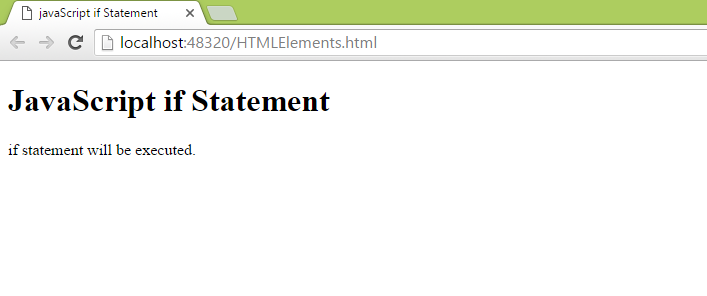
if ((number2 / number1 == 2)) {
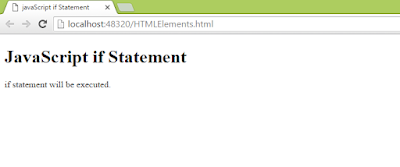
document.write("if statement will be executed.<br />");
}
else {
document.write("else statement will be executed.<br />");
}
</script>
</body>
</html>
Example 2
<!DOCTYPE html>
<html>
<head>
<title>javaScript if Statement</title>
</head>
<body>
<h1>JavaScript if Statement</h1>
<script>
var number1 = 4;
var number2 = 8;
if ((number2 / number1 == 3)) {
document.write("if statement will be executed.<br />");
}
else {
document.write("else statement will be executed.<br />");
}
</script>
</body>
</html>

Example 3
<!DOCTYPE html>
<html>
<head>
<title>javaScript if Statement</title>
</head>
<body>
<h1>JavaScript if Statement</h1>
<script>
var number1 = 4;
var number2 = 8;
if ((number2 / number1 == 3)) {
document.write("if statement will be executed.<br />");
}
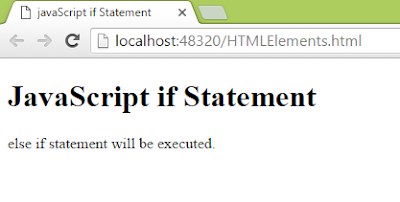
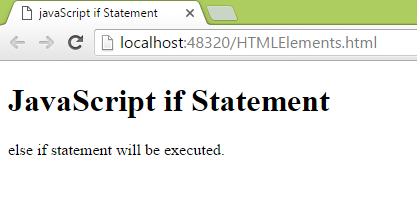
else if ((number2 / number1 == 2)) {
document.write("else if statement will be executed.<br />");
}
else {
document.write("else statement will be executed.<br />");
}
</script>
</body>
</html>
switch Statement
statement will be executed on the basis of a numeric or string expression. If none of the condition met than default condition will be executed.
Syntax
switch(expression)
{
case value1 : statement1;
break;
case value2 : statement2;
break;
default : statement_default;
break;
}
Example 1: When break is not used. all the statements after the correct case will be executed.
<!DOCTYPE html>
<html>
<head>
<title>javaScript Switch Statement</title>
</head>
<body>
<h1>JavaScript Switch Statement</h1>
<script>
var number1 = 4;
var number2 = 8;
switch (number2 / number1)
{
case 1: document.write("( 8/4 ) = 1.<br />");
case 2: document.write("( 8/4 ) = 2.<br />");
case 3: document.write("( 8/4 ) = 3.<br />");
default:
document.write("Result not found");
}
</script>
</body>
</html>

Example 2
<!DOCTYPE html>
<html>
<head>
<title>javaScript Switch Statement</title>
</head>
<body>
<h1>JavaScript Switch Statement</h1>
<script>
var number1 = 4;
var number2 = 8;
switch (number2 / number1)
{
case 1: document.write("( 8/4 ) = 1.<br />");
break;
case 2: document.write("( 8/4 ) = 2.<br />");
break;
case 3: document.write("( 8/4 ) = 3.<br />");
break;
default:
document.write("Result not found");
}
</script>
</body>
</html>